
Shapes, paths, masks and effects
Build editable vector artwork, clip it cleanly and finish it with native visual effects.
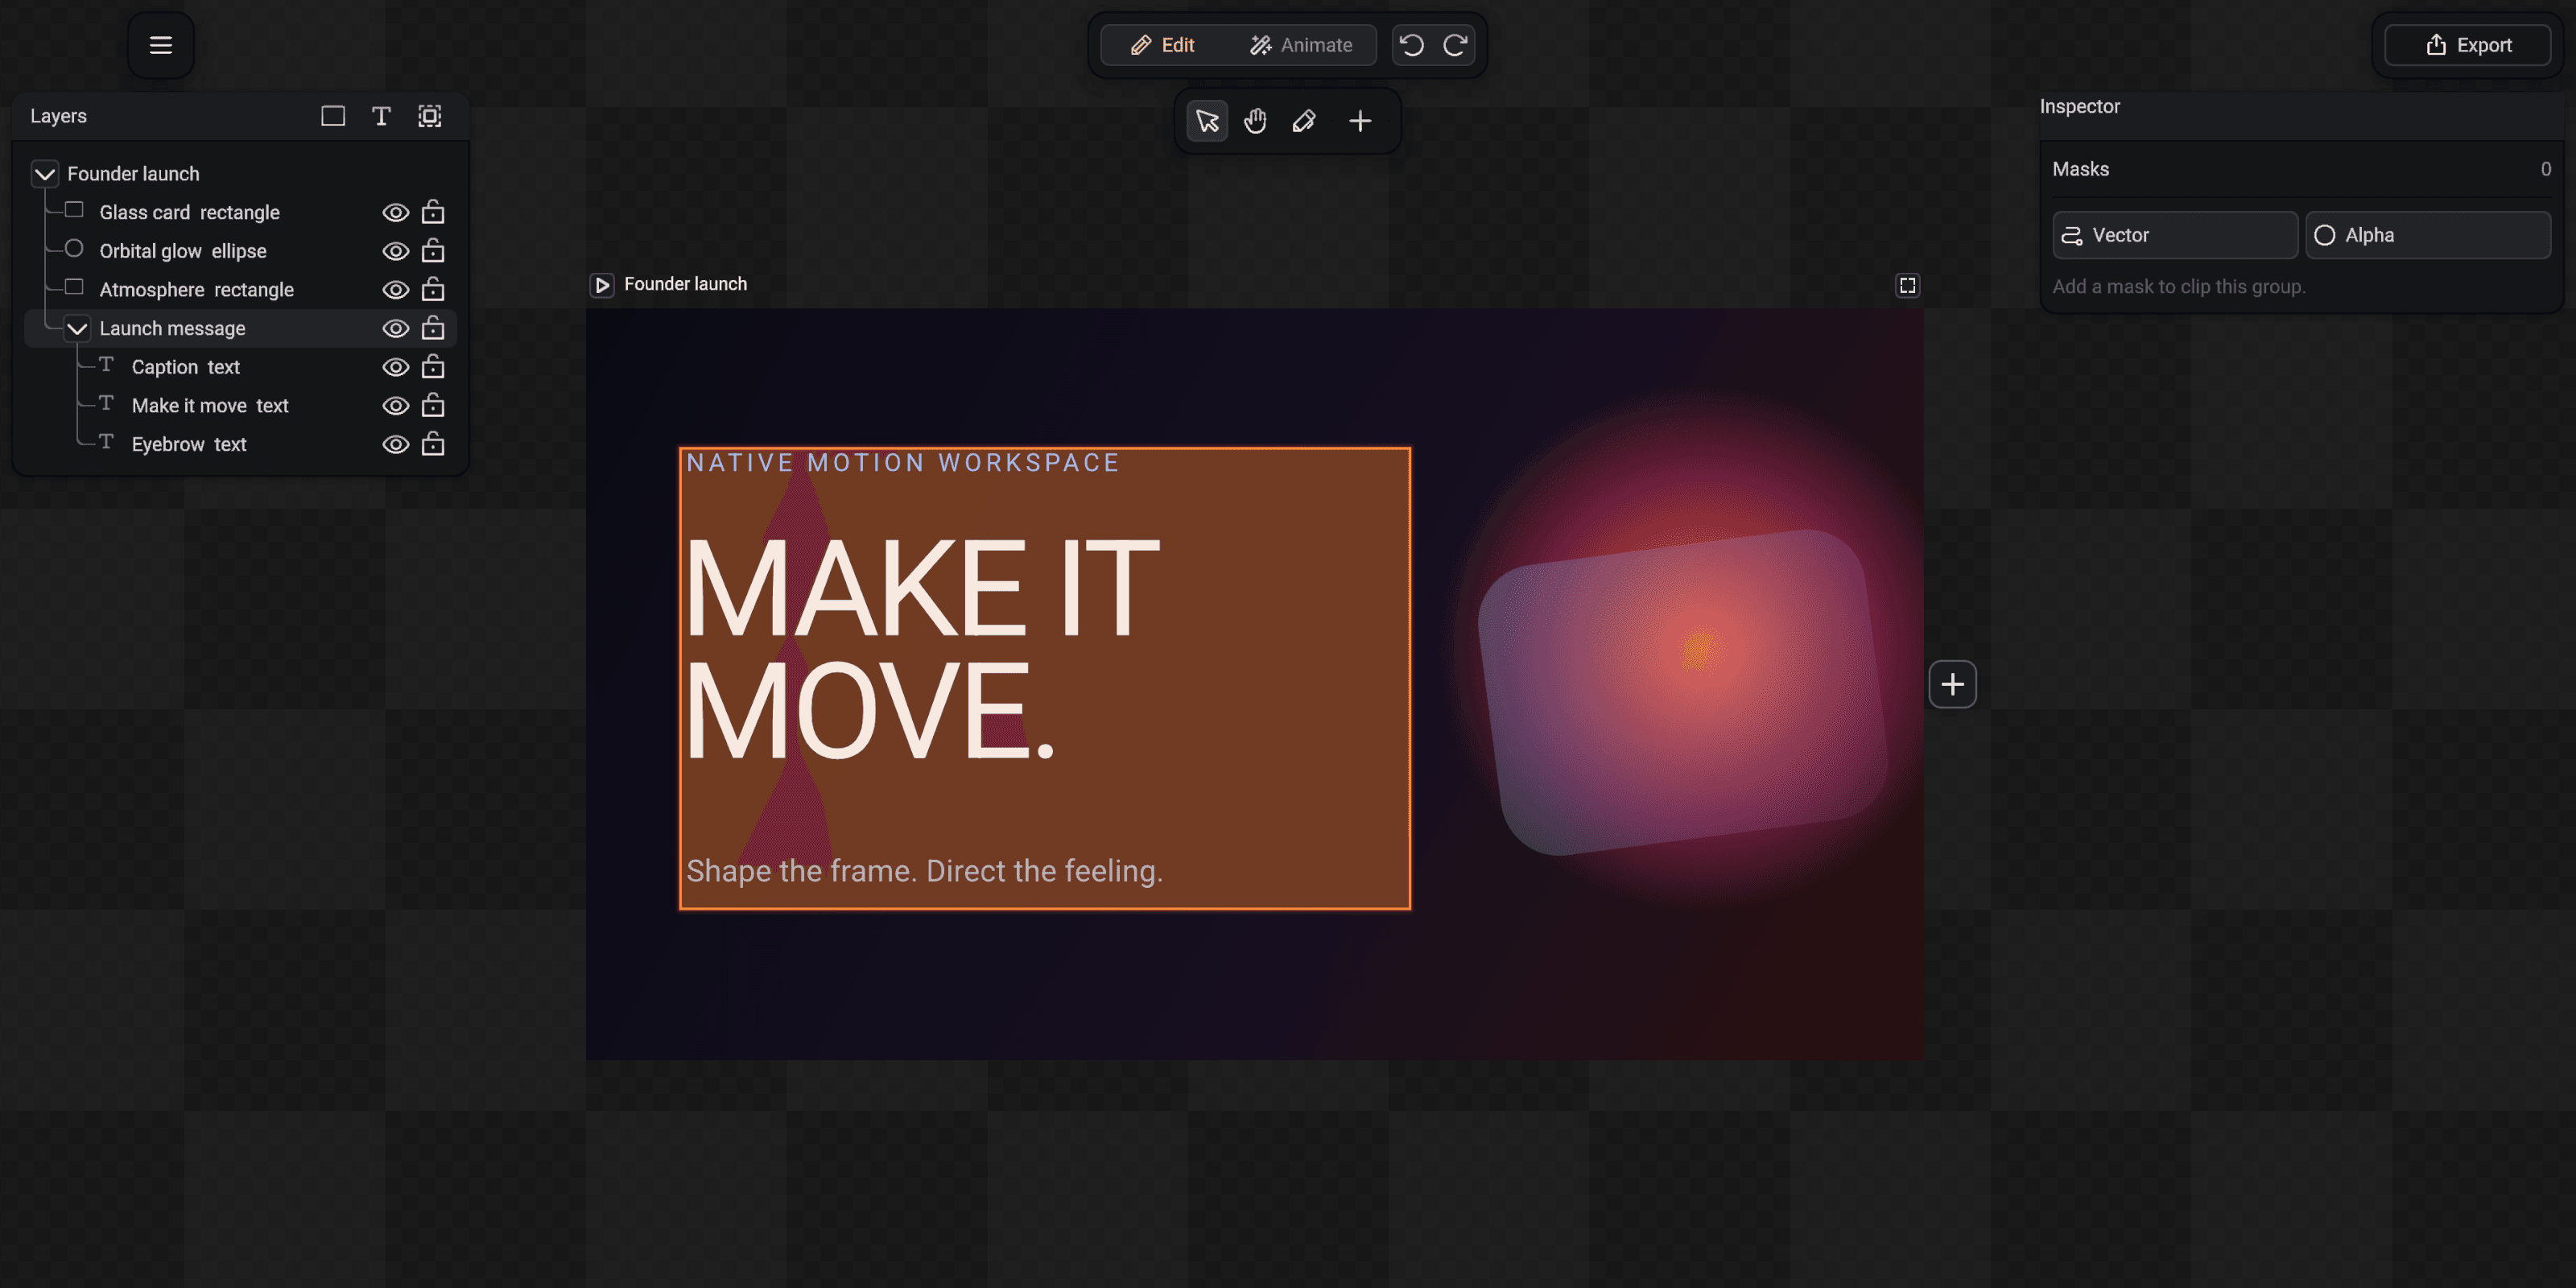
SceneLoft keeps geometry, paint and effects separate. That makes a shape easy to restyle, animate and export without replacing its editable source.
Start with a primitive
Add Rectangle, Ellipse, Arc, Star or Line from the toolbar. Each primitive exposes meaningful geometry controls such as size, corner radius or star parameters in the Inspector.
Use the Pen tool when the contour must be custom. Closed paths can own fills; open paths are normally driven by their stroke.
Build the appearance
Choose a solid, linear gradient or radial gradient fill. The floating color editor opens above surrounding content instead of pushing Inspector controls down.
Stroke has its own color, width and geometry. Layer opacity affects the finished layer; individual paint alpha affects only that fill or stroke.
Clip with masks and groups
Group the layers that should be treated as one visual unit, select the group and add a Vector or Alpha mask from its Inspector.
Vector masks preserve editable contours. Alpha masks are useful for textured or soft reveals. The inherited mask affects every descendant without changing their source geometry.
Add finishing effects
Use shadow for separation, layer blur for soft focus, and glow for emissive-looking edges. Animated blur and effect parameters remain ordinary timeline properties.
Background blur is not currently supported because it requires filtering already-composited content behind the layer. Use layer blur or a prepared blurred backdrop when that look is essential.
Trace a drawn line
Apply path tracing to animate a stroke from its beginning to its end. This works well for signatures, cursive names, routes and drawn-on logos.
The animation follows the authored path order, so draw or reorder the contour in the direction the line should travel.